New Google Search Console Update: Branded vs. Non-Branded Filters Are Finally Here
Search engine optimization professionals and website owners have long relied on Google Search Console to analyze search performance. However, one of the most requested features has finally arrived — the ability to filter Branded vs. Non-Branded queries directly within the platform.
This new update simplifies SEO reporting and gives marketers deeper insights into how users discover their websites.
In this article, we’ll explore what the update means, how it works, and why it matters for your SEO strategy.
What is the New Google Search Console Update?
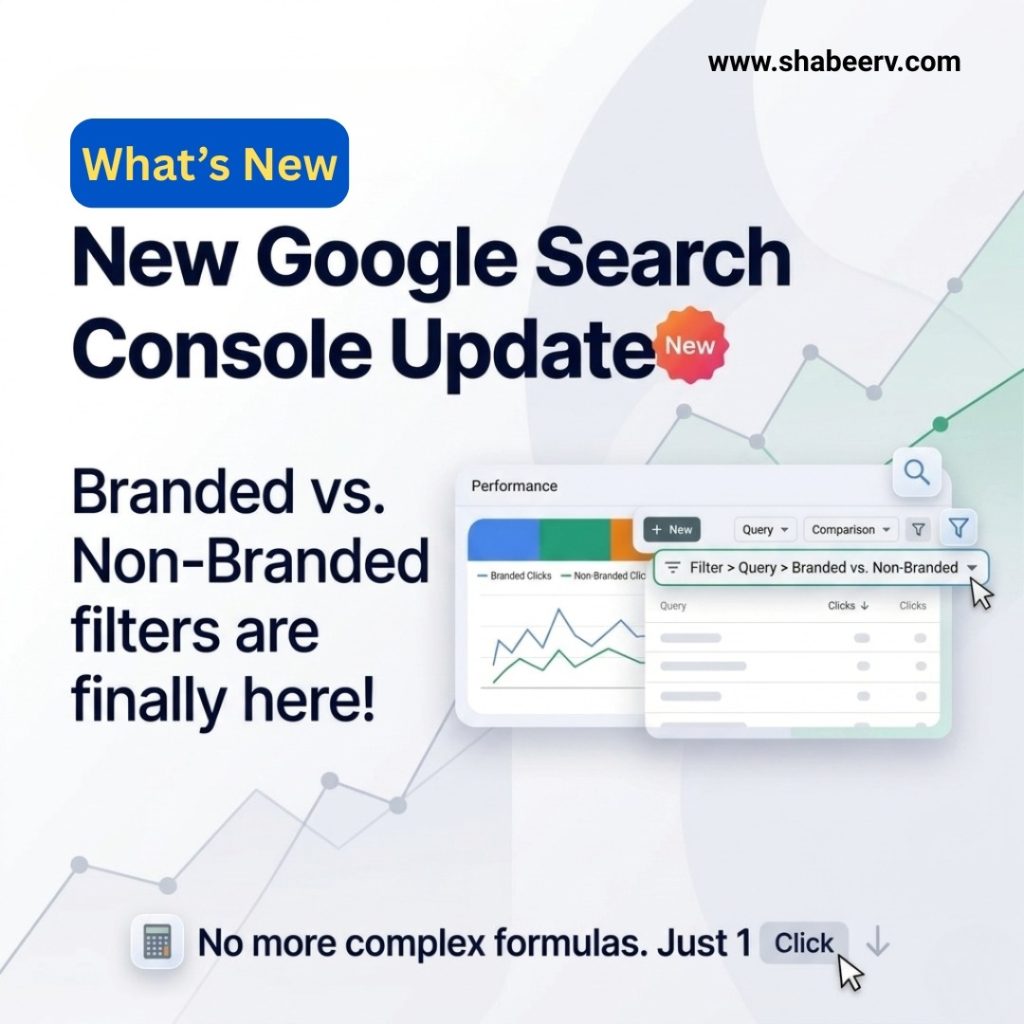
The latest update to Google Search Console introduces a built-in Branded vs. Non-Branded query filter inside the Performance report.
Previously, SEO professionals had to rely on complex spreadsheets, regex filters, or third-party tools to separate branded traffic from non-branded traffic. Now, Google has made this process easier with a simple built-in filter.
This means users can analyze search queries based on whether they include their brand name or not — all with just a few clicks.
Understanding Branded vs. Non-Branded Keywords
Branded Keywords
Branded keywords include the name of your brand or business in the search query.
Examples:
-
“Nike running shoes”
-
“Amazon customer support”
-
“ShabeerV SEO services”
These searches usually come from users who already know about your brand.
Non-Branded Keywords
Non-branded keywords are generic search terms that do not include your brand name.
Examples:
-
“best running shoes”
-
“SEO services near me”
-
“digital marketing tips”
These keywords are extremely important because they help you reach new audiences and grow organic traffic.
Why This Update is Important for SEO
The new feature in Google Search Console helps marketers make smarter decisions by clearly separating traffic sources.
1. Better SEO Performance Analysis
You can now easily understand how much traffic comes from brand awareness vs. discovery searches.
2. Improved Keyword Strategy
Marketers can identify which non-branded keywords are driving new users and optimize content around them.
3. Easier Reporting
SEO reporting becomes much simpler because the data can be filtered directly in Search Console instead of exporting and analyzing manually.
4. Measure Brand Growth
Tracking branded searches helps businesses understand how their brand visibility is increasing over time.
How to Use the Branded vs. Non-Branded Filter
Using this new feature in Google Search Console is simple:
-
Open Google Search Console
-
Go to Performance Report
-
Click + New Filter
-
Select Query Filter
-
Choose Branded vs. Non-Branded
With this filter applied, you can quickly analyze clicks, impressions, CTR, and ranking positions based on brand search behavior.
What This Means for Digital Marketers
This update is particularly useful for:
-
SEO professionals
-
Digital marketing agencies
-
Content marketers
-
E-commerce businesses
By distinguishing branded from non-branded traffic, businesses can better measure the success of their content marketing and SEO campaigns.
Final Thoughts
The new Branded vs. Non-Branded filter in Google Search Console is a small but powerful update that makes SEO analysis significantly easier.
Instead of relying on complicated formulas or external tools, marketers can now analyze search intent and brand performance directly inside Search Console.
For businesses focused on organic growth, this feature provides clearer insights, better reporting, and smarter SEO strategies.